Image Credit: GetyImage
Selecting the right wasp trap can mean the difference between a summer of outdoor leisure and a season marred by unwelcome guests. Wasp traps, designed to attract and capture these often aggressive insects, play a pivotal role in maintaining outdoor spaces where people can relax and enjoy themselves without the constant threat of wasp stings. Not only do these traps offer a solution to wasp problems, but the best wasp trap can do so efficiently and without the use of harmful chemicals, making it an essential tool for anyone looking to safeguard their outdoor areas.
This article will guide readers through the essentials of choosing a wasp trap, covering everything from homemade wasp trap options to the top models available at retailers like Home Depot. The discussion will venture into the materials and tools needed to construct or set up a wasp catcher, step-by-step instructions for either making a wasp trap or optimizing a store-bought version, and tips for maintaining these traps for enduring efficacy. Additionally, insights on identifying the best bait for wasp and hornet traps will be shared to enhance the attractiveness of traps and ensure optimal performance. Whether you’re leaning towards a DIY hornet catcher or scouting for the best wasp traps on the market, this guide aims to provide a comprehensive roadmap to making an informed choice.
Materials and Tools Needed
List of Materials
- Plastic bottles with a raised dimple in the bottom – essential for creating a trough to hold the liquid bait.
- Wasp bait such as raw meat or jam – used to attract wasps into the trap.
- Something sweet (sugar, jam, juice, wine) – acts as an additional lure for the wasps.
List of Tools
- Box cutter or scissors – required for cutting the plastic bottles.
- Drill or sharp pencil – used to make a hole in the bottle.
- Twine or wire – necessary for hanging the traps from branches or other outdoor locations.
- Optional decorations such as beads and yarn – used to camouflage or enhance the appearance of the trap.
- Tape and string – for securing the parts of the trap together.
Step-by-Step Instructions
- Mark and Cut the Bottle
- Use a permanent marker to draw a line around the neck of the bottle, just below the taper. To ensure the line is straight, tie a string around the bottle as a guide. Carefully cut the top off of the bottle at the marked line using a box cutter or sharp scissors.
- Bait the Trap
- Depending on the season, choose appropriate bait: protein sources like lunch meat in spring or sweet liquids like sugar water or fruit juice in summer and fall. Avoid honey to prevent attracting honeybees. Optionally, add a bit of vinegar to deter bees and a small amount of dish soap to hinder wasps from escaping.
- Assemble the Trap
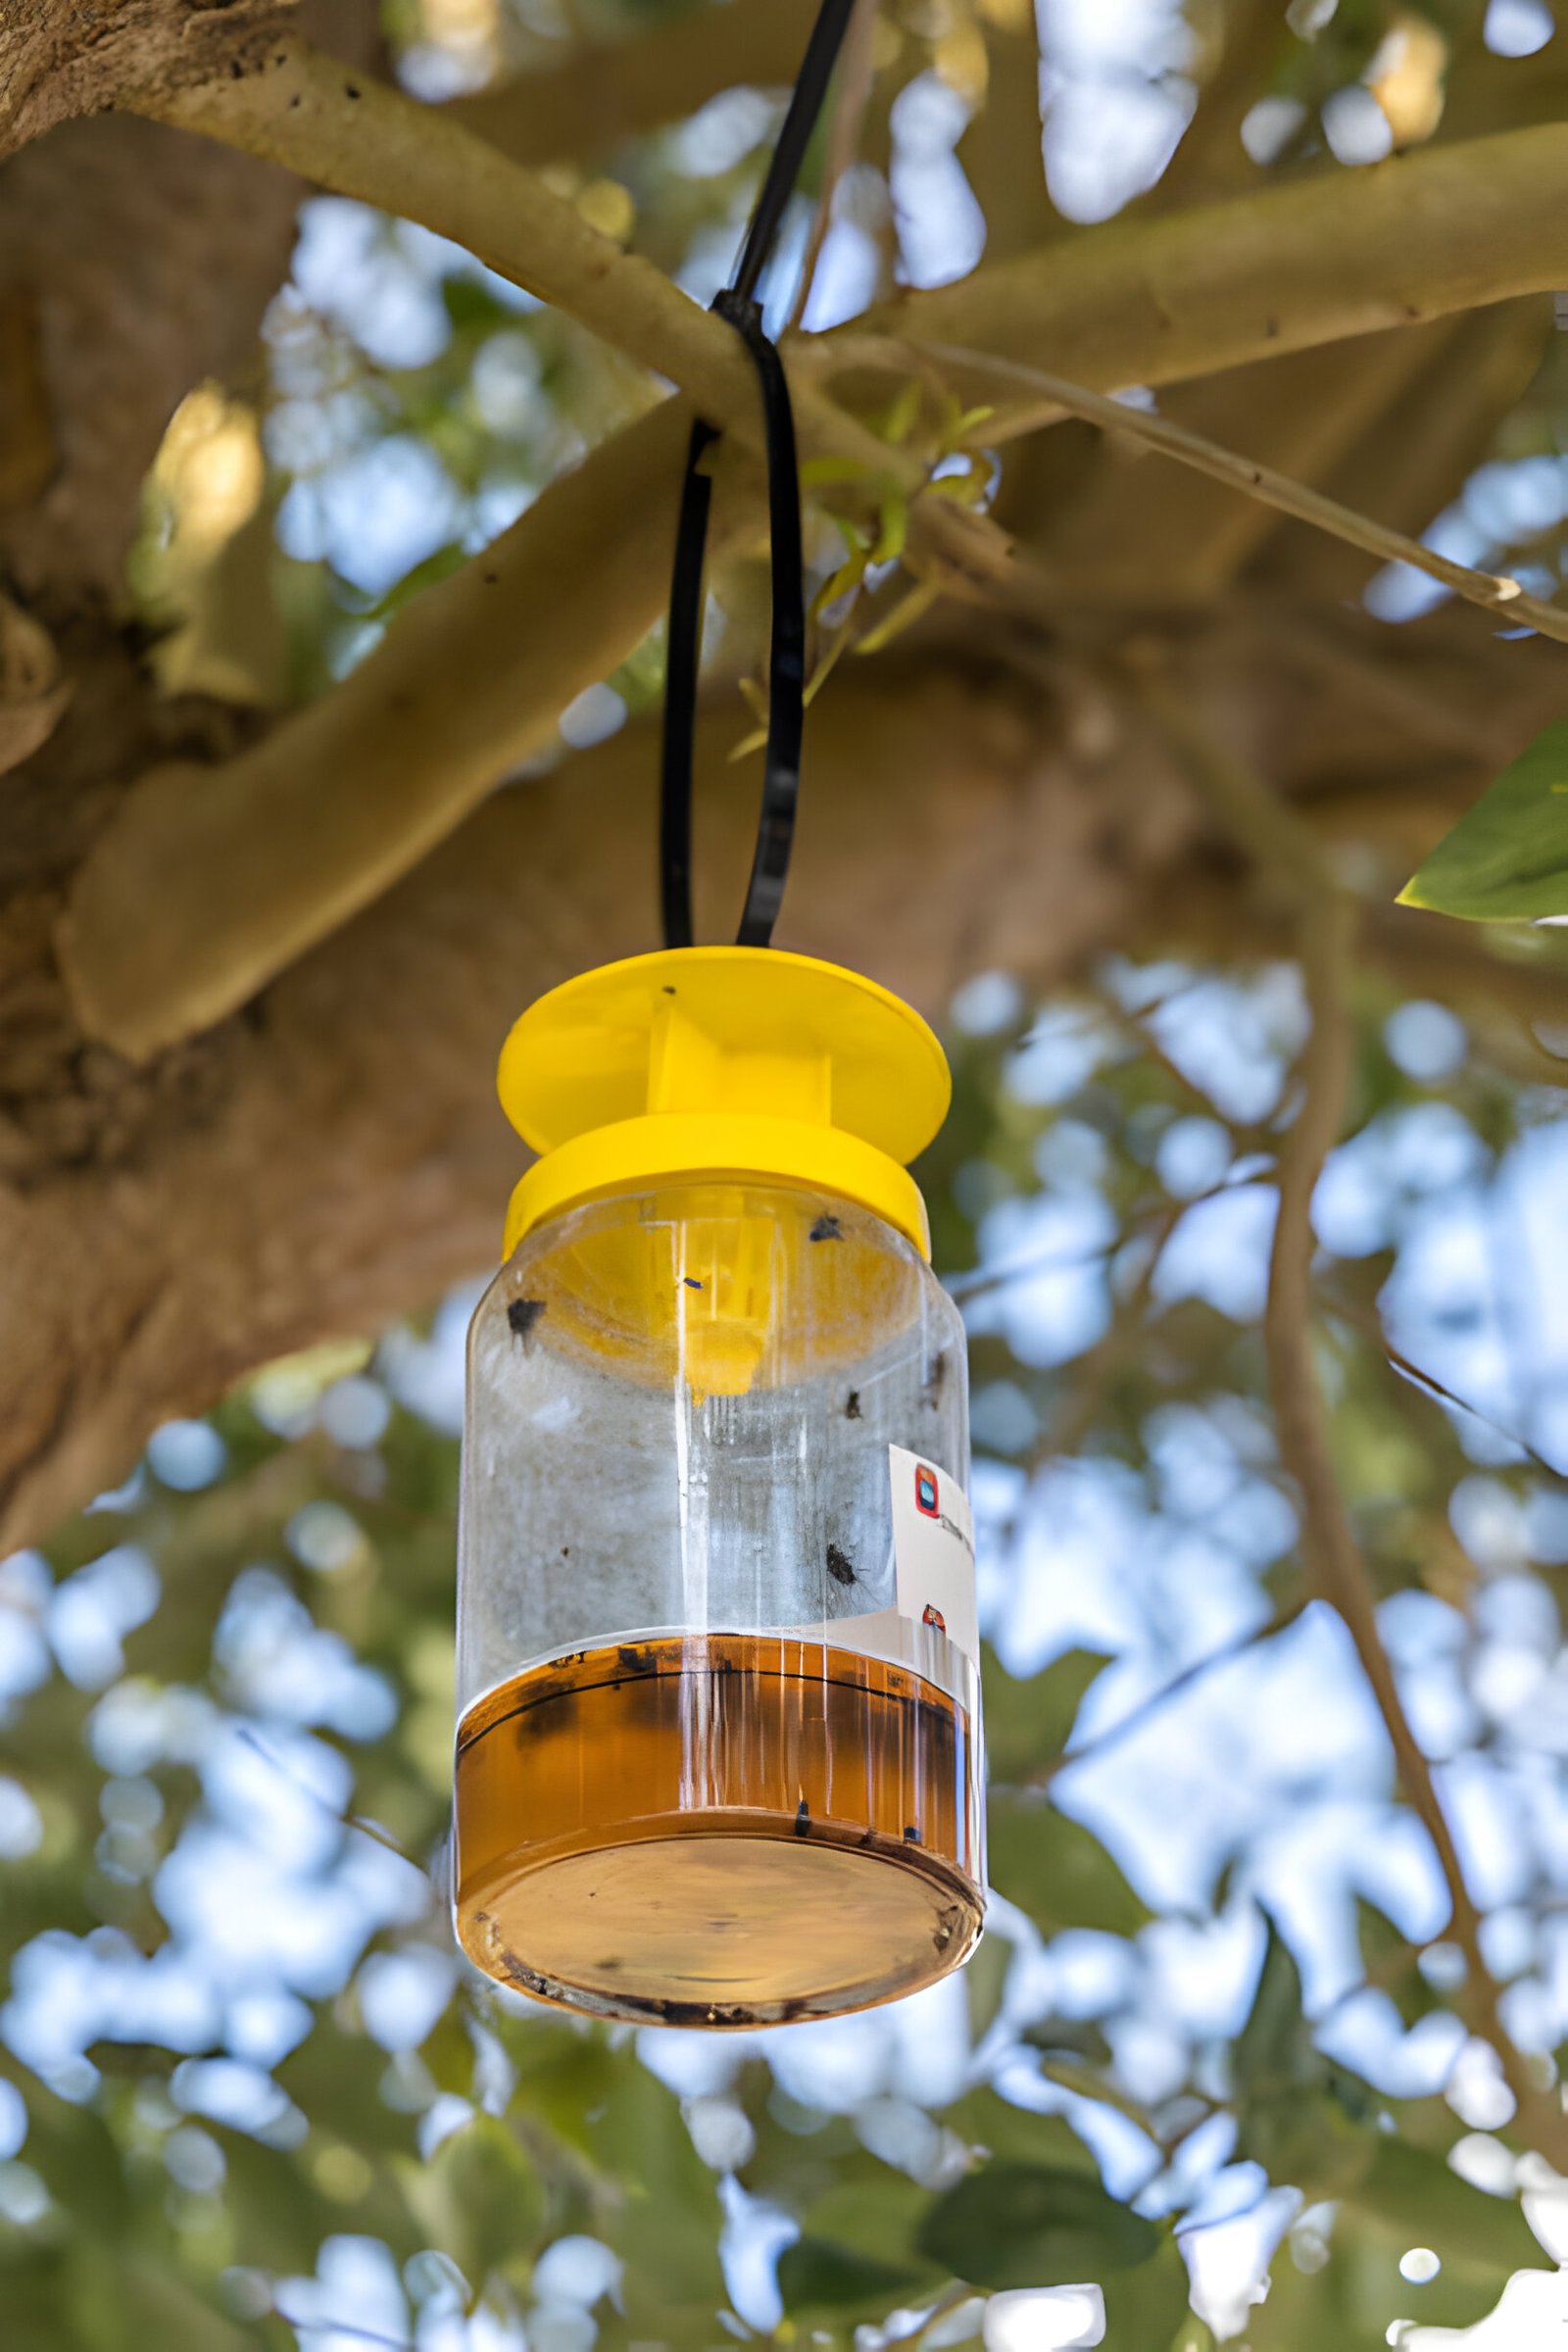
- Remove the cap from the bottle, invert the top part, and tuck it into the bottom portion of the bottle, creating a funnel that prevents wasps from escaping once they enter.
- Set the Trap Outdoors
- Place the trap in areas where wasp activity is noted or desired to be controlled, ideally about 20 feet away from human activity and known wasp nests to avoid attracting wasps to populated areas. Ensure the trap is securely placed or hung to prevent tipping or damage.
Maintenance and Tips
Regular maintenance is crucial for the effectiveness of wasp traps. They should check and clean their traps regularly to prevent them from becoming overfilled or dirty, which can attract more wasps instead of trapping them. It’s important to replace the bait every 3 to 4 weeks or whenever it becomes too full of wasps and hornets. This ensures the bait’s effectiveness and prevents the unpleasant odor that attracts flies.
Safety precautions are paramount when handling wasp traps. Individuals should wear protective clothing such as gloves and long sleeves to avoid stings, especially during cleaning or bait replacement. They should also ensure that the traps are placed at a safe height away from children and pets to prevent accidents.
Conclusion
Through this guide, we have journeyed from the fundamentals of selecting appropriate materials and crafting an effective homemade wasp trap to optimizing store-bought versions for enhanced outdoor living. Alongside practical instructions, we’ve underscored the importance of choosing the right bait and the necessary regular maintenance to maintain the effectiveness of these traps. This comprehensive approach aims to arm readers with the knowledge they need to navigate the challenge of wasp control, ensuring their outdoor spaces can be enjoyed to the fullest extent, free from the nuisances and dangers posed by these insects.
The implications of implementing the right wasp trap extend beyond mere convenience; they play a crucial role in fostering a safer, more enjoyable outdoor environment for families, pets, and guests. As we move forward, readers are encouraged to apply the insights and strategies discussed, while remaining open to further exploration and adaptation of techniques to suit specific needs and conditions. By staying informed and proactive, we can all contribute to more harmonious cohabitation with the natural world, minimizing conflicts with wasps and enhancing our outdoor experiences.
FAQs
1. What are the most effective wasp traps available?
The Rescue Reusable Trap is highly recommended due to its effectiveness. It is simple to set up, easy to maintain, and can capture approximately 100 wasps before requiring emptying.
2. Do wasp traps end up attracting additional wasps?
Yes, wasp traps can attract more wasps than those already present on your property. The scent used in the bait draws stinging insects from the surrounding area.
3. What should you put in a wasp trap to attract wasps?
For attracting wasps, use solutions like sugar water, soda, fruit juice, or water mixed with jam during the summer and fall. Avoid using honey as it attracts honeybees. To deter bees, you can add a bit of vinegar to the mixture.
4. Where is the ideal location to place a wasp trap?
Wasp traps should be hung approximately four feet above the ground in quiet, sunny locations with a slight breeze. This helps spread the scent and effectively lure wasps.
5. How frequently should the contents of a wasp trap be replaced?
The bait in a wasp trap should be replaced every 3 to 4 weeks or sooner if it captures many insects. Always replace the contents with fresh bait to maintain effectiveness.


